Garage door rollers are made of plastic, which means they can wear out over time. When the gears become shredded or show signs of wear, you need to change them. You will know it is time to replace your rollers when the door doesn’t lift or close when you push the button on the remote or wall.
If your rollers need to be changed, this is what you must do:
1. Unplug The Opener
The first thing you should always do when working on your garage door is to kill the power. You don’t want to have the door accidentally start moving while you are working on it. We want to warn you that garage door work is hazardous and you should only take on the project if you are skilled in these types of repairs.
2. Pull The Emergency Release
Once the opener is unplugged from the ceiling, you need to pull the emergency release cord. This will allow you to push and pull the door freely. Start with the garage door closed.
3. Look At The Rollers
Look at all of the plastic rollers on your garage door assembly. We recommend that you replace them all at the same time. If your rollers are not even, it can cause damage to the door.
To order the right rollers, you will need to know the make and model of your garage door. If you have the owners manual, it will tell you which parts to order. Otherwise, you should look for the make and model number on the door itself.
4. Get The Tools Together
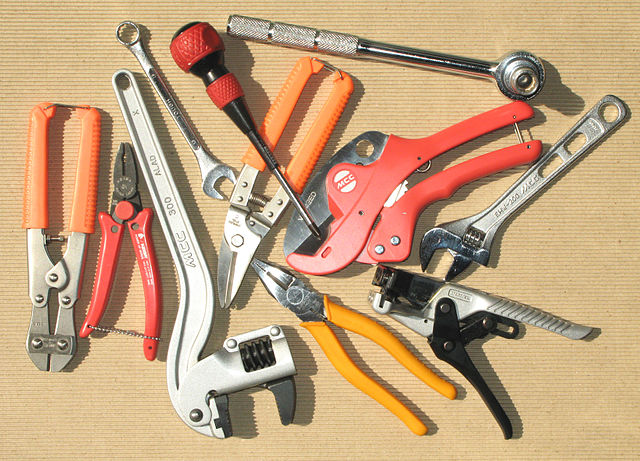
For roller replacement, you are going to need a list of tools. These tools should be enough for the repairs:
- ⅛ inch allen wrench
- 5/16 inch nut driver
- ⅜ inch nut driver
- 14-inch nut driver
- Hammer
- Flathead screwdriver
- 5/32 inch punch
- WD-40
If you do not have a nut driver, you should be able to use a socket. Make sure you have a socket extension to reach some of the bolts.
5. Loosen The Circuit Board and Chain
Depending on the opener that you have, you might need to loosen the circuit board and chain in order to have room to work. Don’t take them off all the way, just loosen them up. Then you will need to remove the gear assembly. Check your owner’s manual for these instructions. If you don’t have the manual, you can try these steps:
- Take the screws off of the roller assembly
- Remove the assembly from the unit
- Take the helical gear out of the shaft (in order to do this, remove the pin by tapping it with a hammer)
- Take off the rollers and washers
- Unscrew the screws from the motor
At this point, the old rollers should be removed completely from your door. Now, you will need to install the new part.
6. Install New Rollers
Place the new rollers where you pulled the old rollers from. Then you will need to reassemble the unit. Make sure to use a little WD-40 on the roller prior to installation. This will allow the rollers to slide across the tracks.
Once the new rollers are in place, you will screw everything back into place. Also, tighten the belt or chain drive and the circuit board. Test out the door to see if it is working properly.
Call Us to Install New Rollers
Our team of professionals is able to install your new garage door rollers. We will do what is necessary to get your door working again. Call now and we will send someone to you for an inspection and evaluation.


