It is important to replace the mechanical working parts of your garage door over time. Making sure that all of the parts are working properly will keep your assembly from wearing out and suffering damage. It can also keep you safe so that your door doesn’t not malfunction at the wrong time.
Here at Neighborhood Garage Door Service of Seattle, Wa, we suggest you replace your cable when there are any signs of wear. The cable itself can look weak or frayed in certain parts.
These are the instructions to replace the cable yourself-
1. Gather The Necessary Tools
Before starting your project, make certain that you have all of the necessary tools and parts. You will need to determine the size cable that is needed for your overhead door. Check with the manufacturer for a specific length.
The other things you will need include:
- Safety glasses
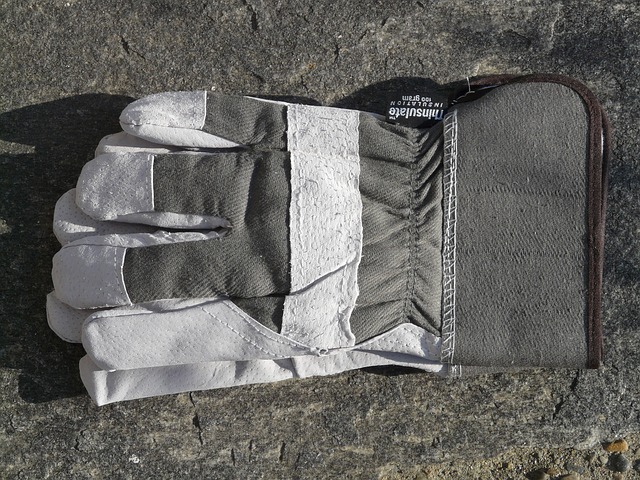
- Gloves
- Ratchet
- Socket
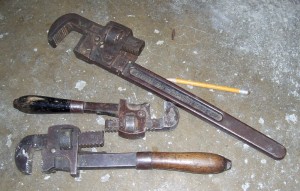
- Wrench
- Winding bar
- Replacement cable
- Locking pliers or vice grip
2. Disengage The Garage Door Opener
It is important that you cut the power to your garage door before working on it. You can do this by unplugging the garage door opener. You can also flip the breaker switch if that is more convenient.
You will also need to release the emergency handle for added safety. Simply pull the red rope that is near the top rail of your assembly.
3. Use Vice Grips to Hold Door In Place
Take two or more vice grips to hold your door in place. This is for your safety and will also assist in keeping the door in place while you replace the cable. Be aware that taking the cable off of the door will cause it to close.
4. Unwind The Cable
Now that the door is locked into place, you will need to use your winding bars to unwind the cable. Unwind the cable completely so that you can take it off of the rollers.
5. Loosen The Cable Drum Screws
After the tension has relaxed, you will need to loosen the screws that are on the cable drum. Take the cover off of the drum so that you can remove the cable completely.
6. Unwind Cable From Jamb Bracket
At the bottom of the door, you will need to use the ratchet and socket set to remove the lag screw. This screw is in the jamb bracket. Unwind the cable from this bracket.
7. Insert New Cable
After the old cable is removed completely from both ends, you will need to install the new cable. First, install it on the bottom bracket and then thread it to the top of the door. You will need to do this on both sides.
8. Wind The Cable
Now that the new part is installed, wind it up so that it is properly set. Slide the cable drum over the bearing plate and then use a counterclock motion to tighten it. Then you will need to tight the set screws.
9. Increase the Tension
You will need to adjust the tension on the cables so that it is tight enough for your door. Be sure to make ¼ turns when tightening the cable so that you do not overwind the springs.
Contact Neighborhood Garage Door Service For Cable Repair
If you do not feel as though you can make this repair, our team of certified technicians can assist you. Please call Neighborhood Garage Door Service of Seattle today if you are in need of help. We will schedule someone to come to your location right away.


