Over time, you may need to replace your garage door opener with a newer model. Neighborhood Garage Door Service of Minneapolis, MN is committed to teaching you how to take care of your garage. If you are in need of replacing your garage door opener and would like to do it yourself, these are the steps you need to take.
Remove The Old Garage Door Opener
Assuming that you have an automatic garage door, you will have an opener installed already. To start the process of replacing it, you will need to remove the old one.
In order to remove the old opener:
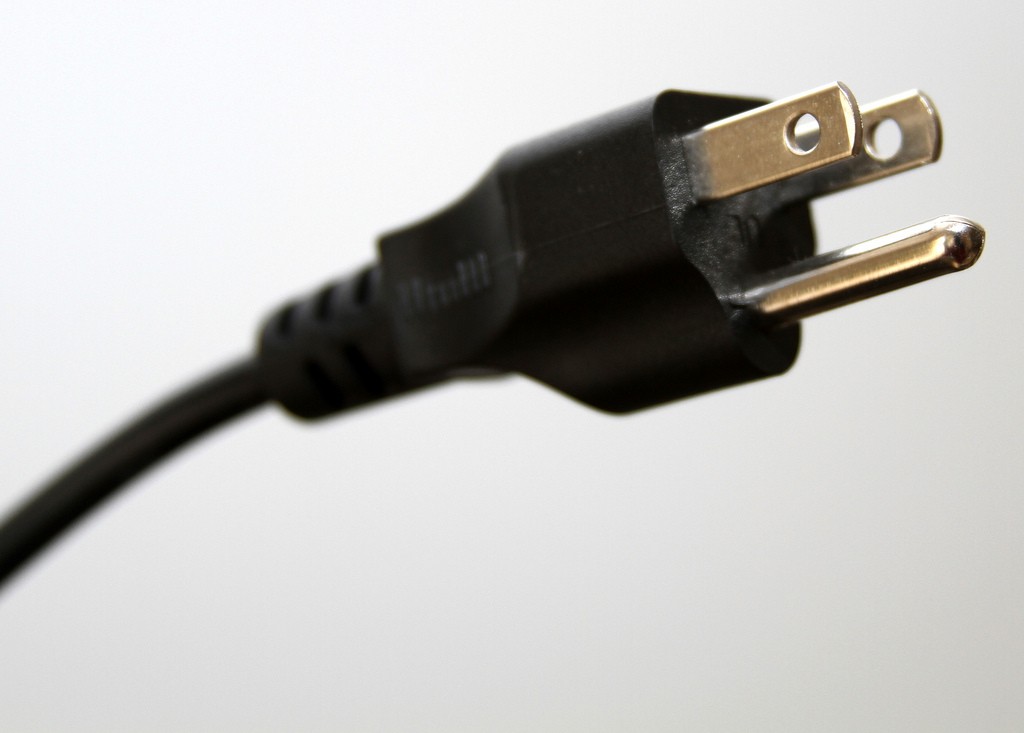
- Unplug the opener
- Pull the light cover off
- Take a picture of the wires (This will help you connect the new one properly)
- Unscrew all wires
- Remove the light bulb
Support the Opener
When it you are ready to take the opener down, you will need to use a ladder and a box to support the opener. Sit the ladder directly under the opener and place a box that will fit between the ladder and the device.
Once you have the opener supported, unscrew the bolts at the top so that it can be taken down. You should be able to loosen these bolts with a socket wrench.
Pull the emergency release cord and unhook the clevis pin that is attached to it. Then you are ready to take the opener down completely.
Remove Clevis Pin and Ring Fastener
Once you have pulled the opener down, you will need to lay it to the ground gently. It will still be connected to the black track. Go to the other end of the track and remove the clevis pin and ring fastener. Then you will pull the track out completely.
Install the New Garage Door Opener
Open the box to the new garage door opener. Pull out the rails as well as the motor. Set the motor on a towel to protect it from your floor.
Put Rails Together
Put the rails together. This should be simple, as it has interlocking posts. Sit it on the floor and support the other end with a box to keep from bending the railing.
Place Trolley on The Rail
There is a hole in the rail where you will need place a screwdriver to hold it in place. Then you need to inspect the trolley, which is the part of the opener that moves back and forth when the overhead door opens and closes.
Feed the trolley on the end of the rail and slide it down so that it will hit the screwdriver. Then you will put the u-bracket on the end. Maybe you will need to use a rubber mallet to get it in place.
Attach the Rail to the Opener
At this point, you will need to attach the rail to the opener. There are nuts and bolts that come with the pack for you to attach it.
Feed Belt Through the Pulley
Once the bar is attached to the motor at one end, you will need to feed the belt through the pulley. The pulley is a round part that has a piece of tape on it. (Remove the tape) Follow instructions to do this step. Be sure to add lubricant to this part.
Install New Opener
After you have put the new opener together, you will install it to the ceiling. Be sure that you follow the directions for off center mounting if you need to do that in your garage. Depending on your home, there may be a need to have the opener off center.
Neighborhood Garage Door Service Installs Openers
Here at Neighborhood Garage Door Service of Minneapolis, MN can install your new garage door opener for you. If this project is not one you can handle on your own, give us a call today and we will send a tech out to you right away.


