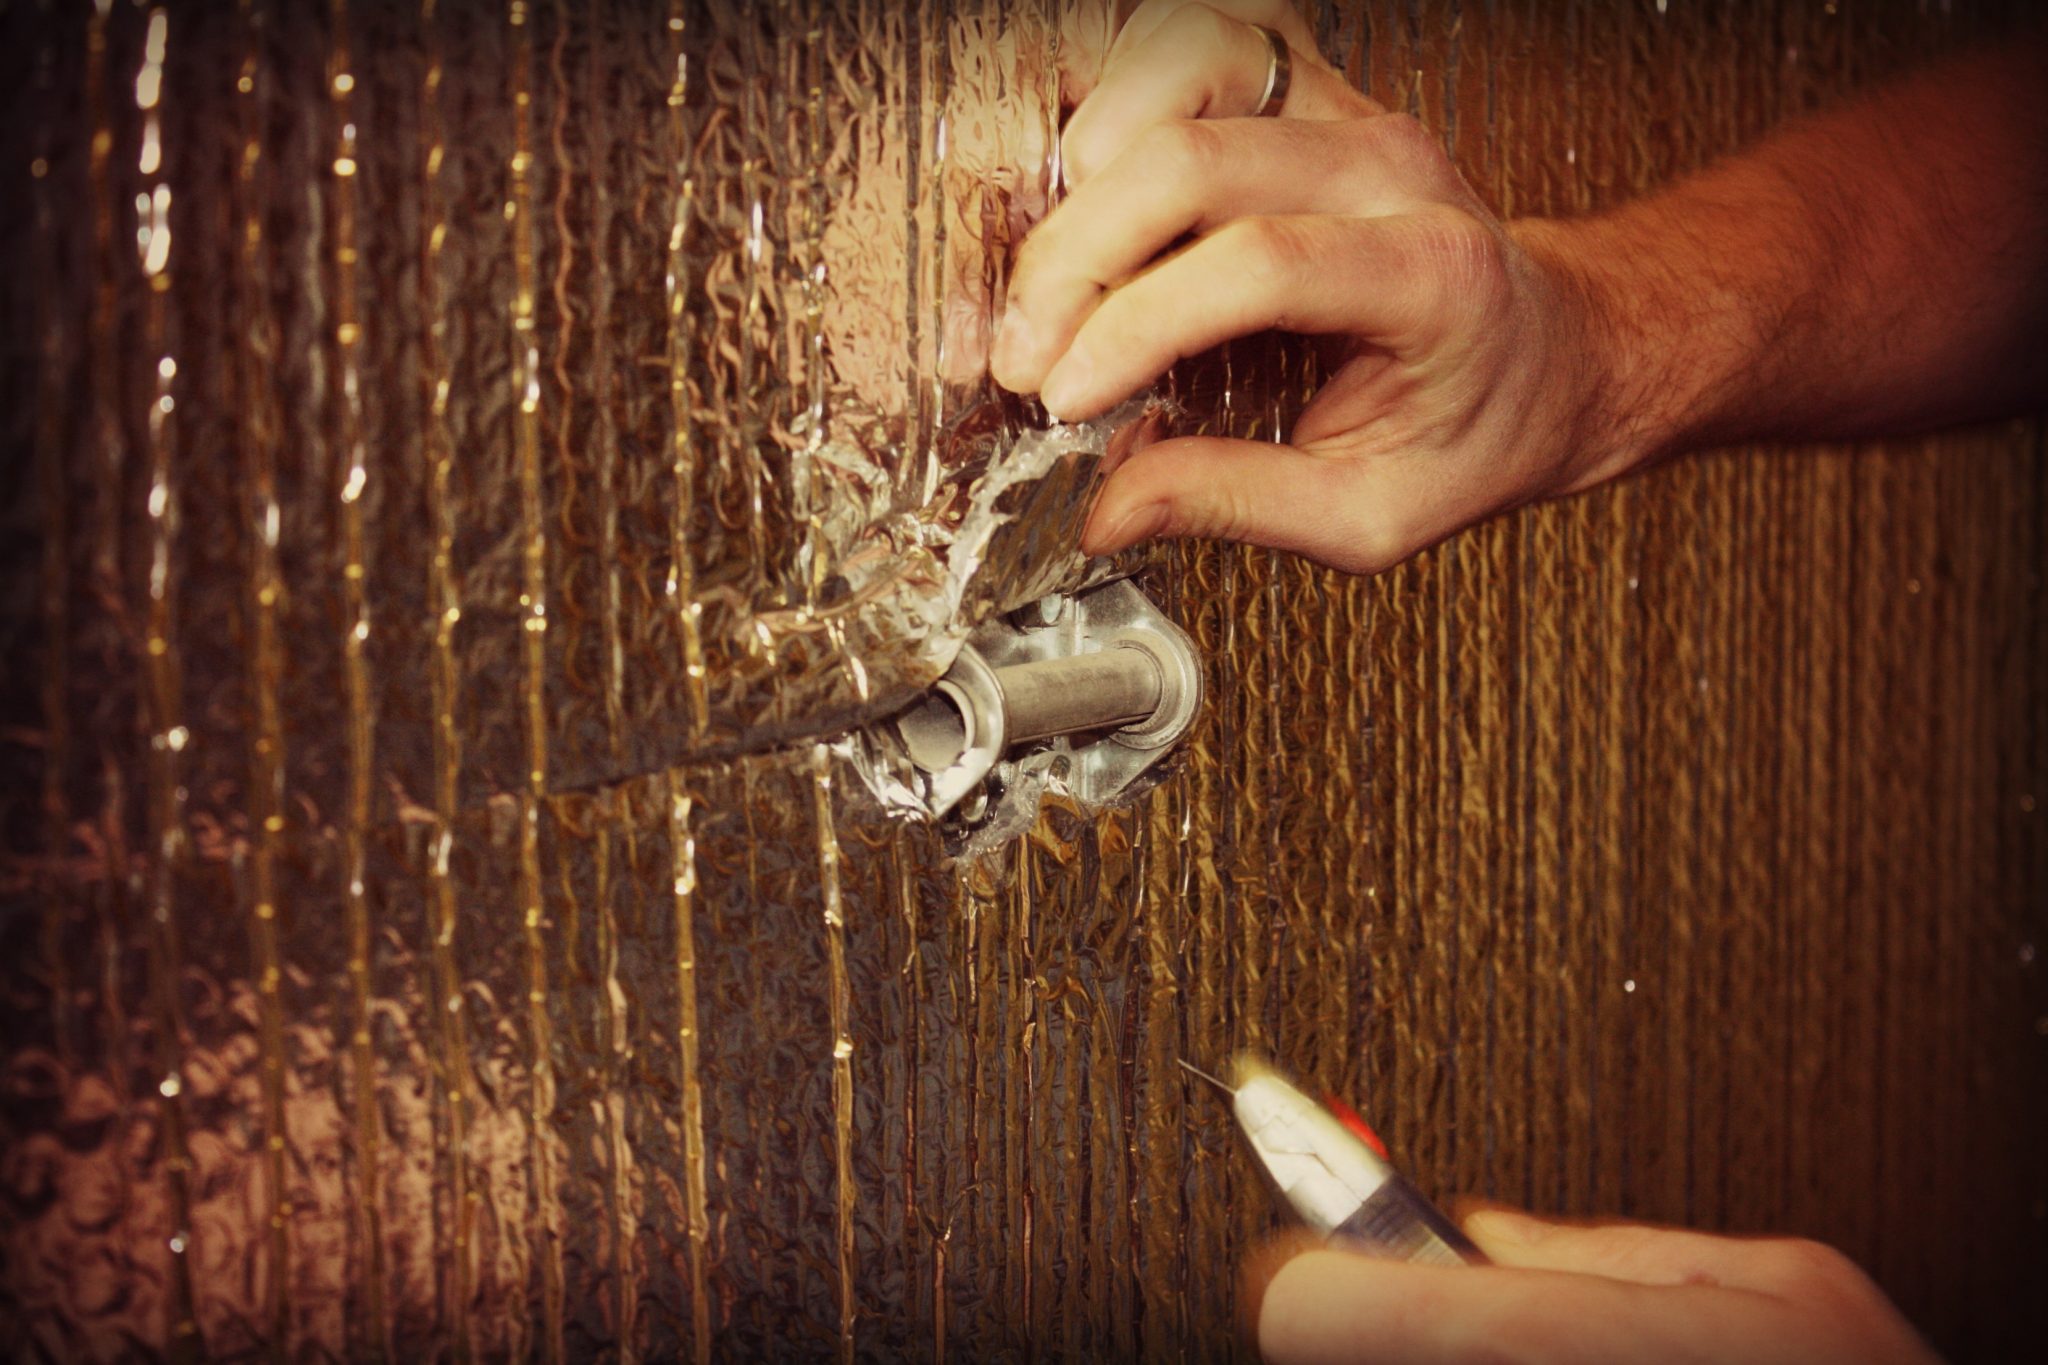
Neighborhood Garage Door Services of Indianapolis, IN knows the importance of good insulation for your garage door. When temperatures drop below freezing garages can become unbearably cold.
We specialize in custom installs and repairs in the Indianapolis area and frequently serve our customers by insulating their garage doors.However, there are ways to insulate your garage door all on your own. Insulation will make your garage more useful to work in during those cold winter months.
If you don’t have insulation for your door, then it will be harder to keep your house warm. After all, your garage is an extension of your home’s walls and the temperature will have an affect both on warmth and your electric bill.
Neighborhood Garage Door Services of Indianapolis, IN encourages our customers to follow these simple steps to insulate their garage door.
1. Prepare your work space
Before you begin, move your car from inside of the garage. Select the items that you will need for the project. A little organization will go a long way with this project to insulate your garage door.
Items you’ll need include:
- Stool or stepladder
- Water and cleaning materials
- Safety glasses
- Rigid foam insulation
- Ruler or a metal straightedge
- Utility knife
Use soapy water to clean the inside of your door. Be sure to get rid of any cobwebs and debris. In order to install the rigid foam, it is essential that the door is clean so that the application goes more smoothly.
2. Time to measure
Take your time and measure the distance that is between the inner edges of your garage door’s metal rails at a section of the door. Make a mark on your foam and then use your metal straightedge to cut the piece at that spot with a utility knife.
You should then be able to break off the end piece fairly easily. Do this with caution so that you don’t damage the foam.
3. Extra piece for vertical rails
Often, the vertical rails for garages with sectional doors have a rim that won’t allow for a full piece of foam to be installed. Cut a piece of foam about 2 inches wide and insert it vertically into the section against one of the rails.
The goal here is to be sure that the entire door is insulated. Finally, you can place and secure the larger foam piece against the door. Adhesive won’t be necessary if you have measured correctly and fit the pieces into your door just right.
4. Repeat
In order to complete the project, you’ll need to repeat step 3 until you are done. The end result will be a garage door that is insulated and you’ll be pleased with both a warmer garage and lower electricity bill.
In the event that you have a one-piece garage door, then you’d do a few things differently.
The basic steps for this type of garage door include:
- Measure the foam with the metal straightedge and cut the piece with your knife.
- Spray a thin coat of foam board adhesive inside the door area. Quickly, press the foam into place.
- Repeat the steps until you have completely insulated your one-piece garage door.
- Fill in any holes with smaller pieces and allow the adhesive to dry at least overnight before opening your door.
Door insulation is essential in order to keep your home running more energy efficiently. Neighborhood Garage Door Services of Indianapolis, IN is a full service garage door company that would love to assist you with any maintenance or install needs for your home’s garage door.


