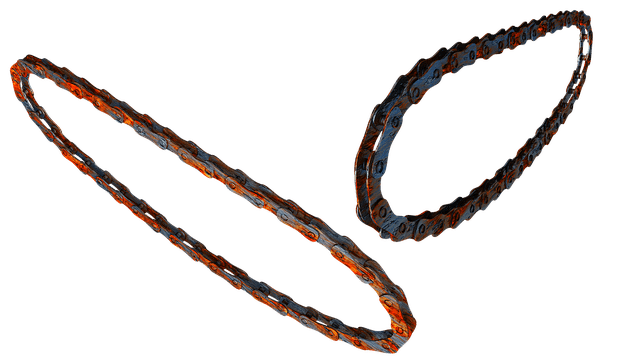
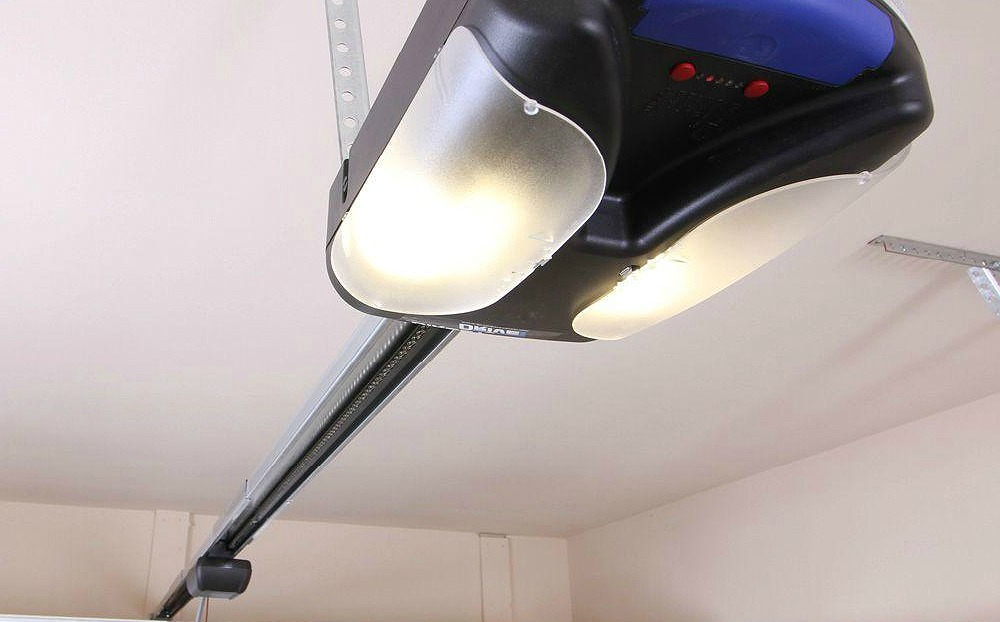
If you have an automatic door, then you have a garage door opener that pushes the door down and pulls it up when in operation. Many homeowners have a chain drive opener, meaning there is a garage door opener chain that is part of the system. This part can break, leaving your door inoperable.
When that happens, use these instructions to make the repair:
How to Remove the Old Garage Door Opener Chain
We recommend that you do not make your own garage door repairs if you are inexperienced. It is best to contact a professional to handle it for you. However, if you do have experience with taking care of garage door repairs, this is what you will need to do to remove the old chain:
- Unplug the opener from the ceiling to cut the power supply.
- Release the emergency pull cord so that the trolley disconnects from the arm.
- Take off the master link assemblies and set aside. There should be two.
- Take off the idler pulley assembly. Also, set that to the side.
- Take off the chain from the threaded shaft and the other side.
Once you have successfully taken the chain off of the assembly, it can be thrown away.
Prepare the Assembly For the Opener
There is a motor had that has an open and close limit. In order to get the motor head in the right place, you will need to follow these steps:
- Get behind the motor.
- Face the door.
- Stand on a ladder if need be to see the sprocket spin.
- Push the remote so that the sprocket spins in a clockwise position. That means it is closed.
- Now you will need to reposition the trolley over the door. There are 2 pieces.
- The trolley should be 8-10 inches from the end of the track. Do not connect the door.
Before moving to the next set of steps, make sure the motor unit is in a closed position.
How to Install a New Chain
Once the motor unit is closed, you are ready to install the new chain. Here’s what you’ll need to do:
- Take ahold of the end of the cable and push about 12 inches of the cable through the window that is in the pulley.
- Now you will need to pull the cable so that it goes around the idler pulley and towards the trolley.
- You should be able to connect the cable to the retaining slot that is on the trolley.
- Get underneath of the assembly and push the pin of master link bar up through the cable link. It will also go through the trolley slot.
- Push the master link cap down over the pin and completely past the notches on the pin.
- Slide the clip on spring over the cap. Make sure both pins are securely locked in place.
- Dispense the rest of the chain towards the rail.
- Be sure the chain is untwisted.
- Put the inner nut and lock washer on the trolley’s threaded shaft.
- Put the threaded shaft in the hole and check again to make sure the chain is not twisted.
- Thread the nut loosely on the shaft.
After you have completed the steps, you will need to test the unit.
Contact Us For Help
If you need a new chain and do not have experience with this type of repair, be sure to call us right away. We will get one of our technicians out to your location to make the installation. We are capable of handling all types of services on garage doors.


